Trigger Installation And Safety Checks
For most users, all these trigger components are a drop-in fit. Regardless, our policy is that this trigger MUST be installed by a Glock Armorer or professional Glock Gunsmith. If you are not a skilled Glock Armorer, take it to someone who is. If you damage any of the parts attempting to improperly install it, we will not accept it back.
Always insure the pistol is unloaded and that there is no way to mistakenly load it while working or installing these components. This trigger is not recommended for novice shooters, untrained shooters, or anyone not familiar with standard gun safety practices.
Once the trigger has been installed, and you have made certain the pistol is unloaded, you must dry press and cycle the weapon several times to get an understanding of how this trigger system's ergonomics work and feel different than the factory Glock trigger.
Do not load a pistol equipped with this trigger without becoming familiar with these differences. As always, keep your finger off the trigger.
Changing springs and components may affect the dynamics and reliability of the trigger. We cannot guarantee, nor will we warranty our triggers to function reliably with any other company's components. As always, adhere to standard firearm safety practices and do not load a pistol equipped with this trigger without becoming familiar with these differences. Disassembly of the trigger will instantly void any warranty.
Glock® Trigger Safety Checks
Trigger Safety checks (Must be done upon installation, and periodically to check for worn safety parts): These safety checks are applicable to any Glock® trigger, stock or aftermarket, and should be performed regularly to ensure all safeties are functional. Make certain weapon is unloaded and no ammo is present for safety checks. Many aftermarket triggers can fail to be firing pin safe but do offer some level of compromised drop safety.
- Check trigger safety to ensure it is engaged when weapon has been racked. Without engaging the trigger safety bar firmly press the trigger to attempt firing. Ensure that the trigger safety does not slip off resulting in firing. If slipping occurs your weapon is no longer drop safe or firing pin safe, ensure it is repaired before use. Also, check this part for wear. It is an inexpensive piece and easily replaced.
- With the slide removed and trigger installed pull trigger forward so that it is resting on the trigger safety. Press the trigger bar on the cruciform at that trigger housing. Ensure that the trigger bar will not drop in a manner that could result in striker release. If the trigger bar drops into the housing, your weapon is not drop safe, ensure it is repaired before use.
- With the slide assembled but back plate removed and striker not engaged with the trigger bar, pull the trigger forward so that it is resting on the trigger safety and ensure that the firing pin is blocked and cannot move forward. This is best done using a Glock armorer’s tool and pressing the rear of the firing pin firmly with the armorer’s tool to ensure the firing pin cannot slip past. (If you wish to obtain an Armorer's Tool, please contact us). If the firing pin can slip past the safety plunger, your firing pin safety is not functional. Ensure your trigger is repaired before use. Finally pull the trigger and ensure the firing pin moves freely past the safety plunger. If firing pin is felt to be impacting or slipping by the safety plunger, this can sometimes result in light primer strikes and should be repaired or over travel adjusted before duty or self-defense use. The easiest way to check for safety plunger interference is to perform the “rattle test” and listen for striker movement.
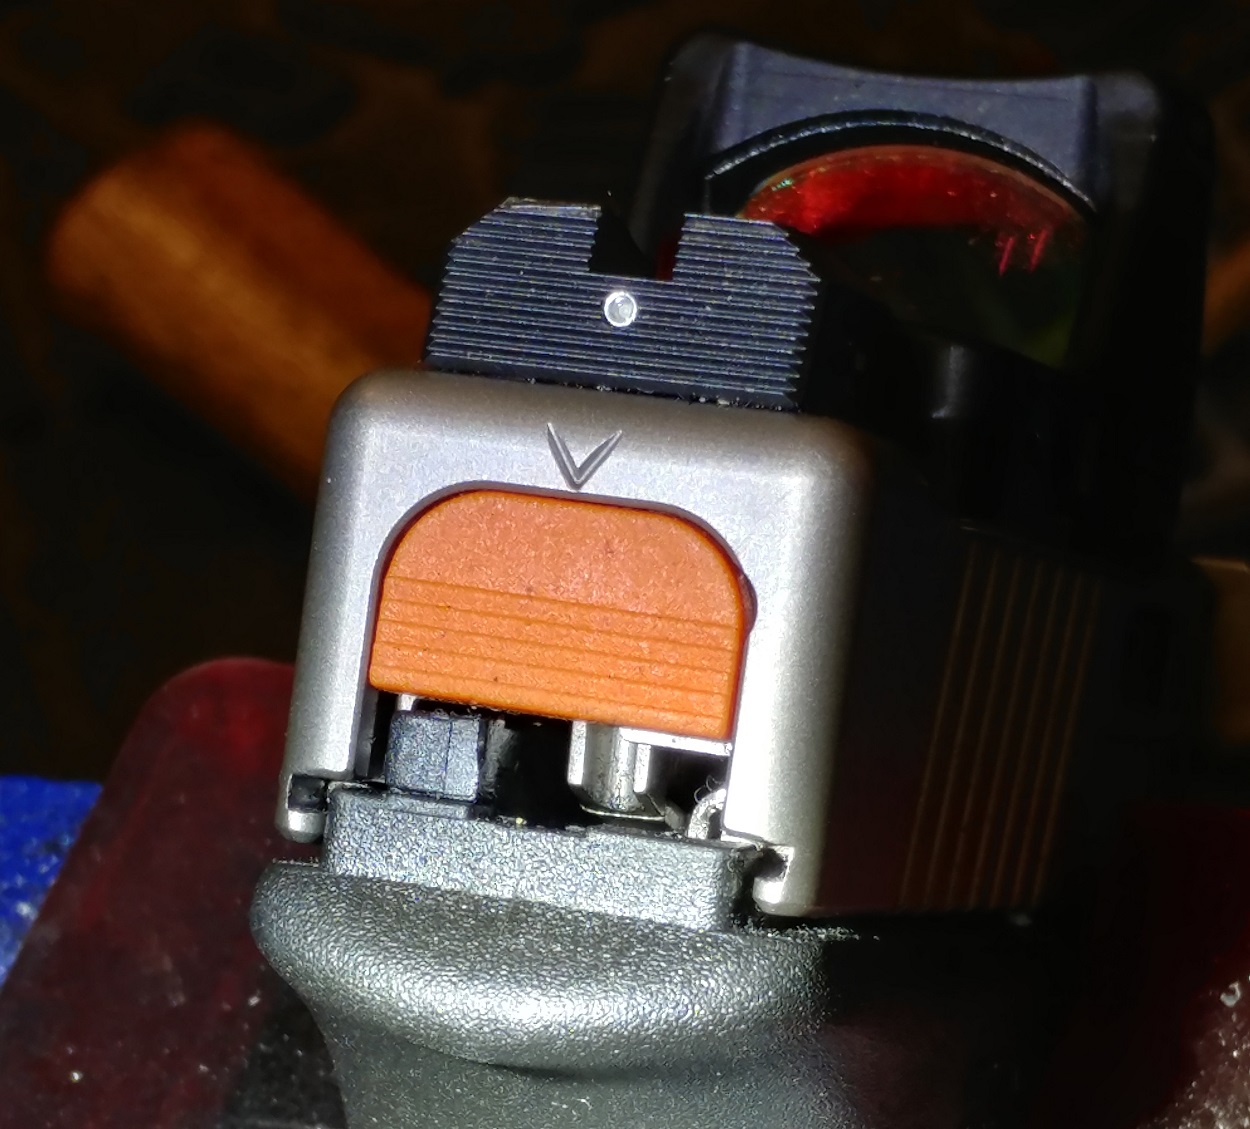
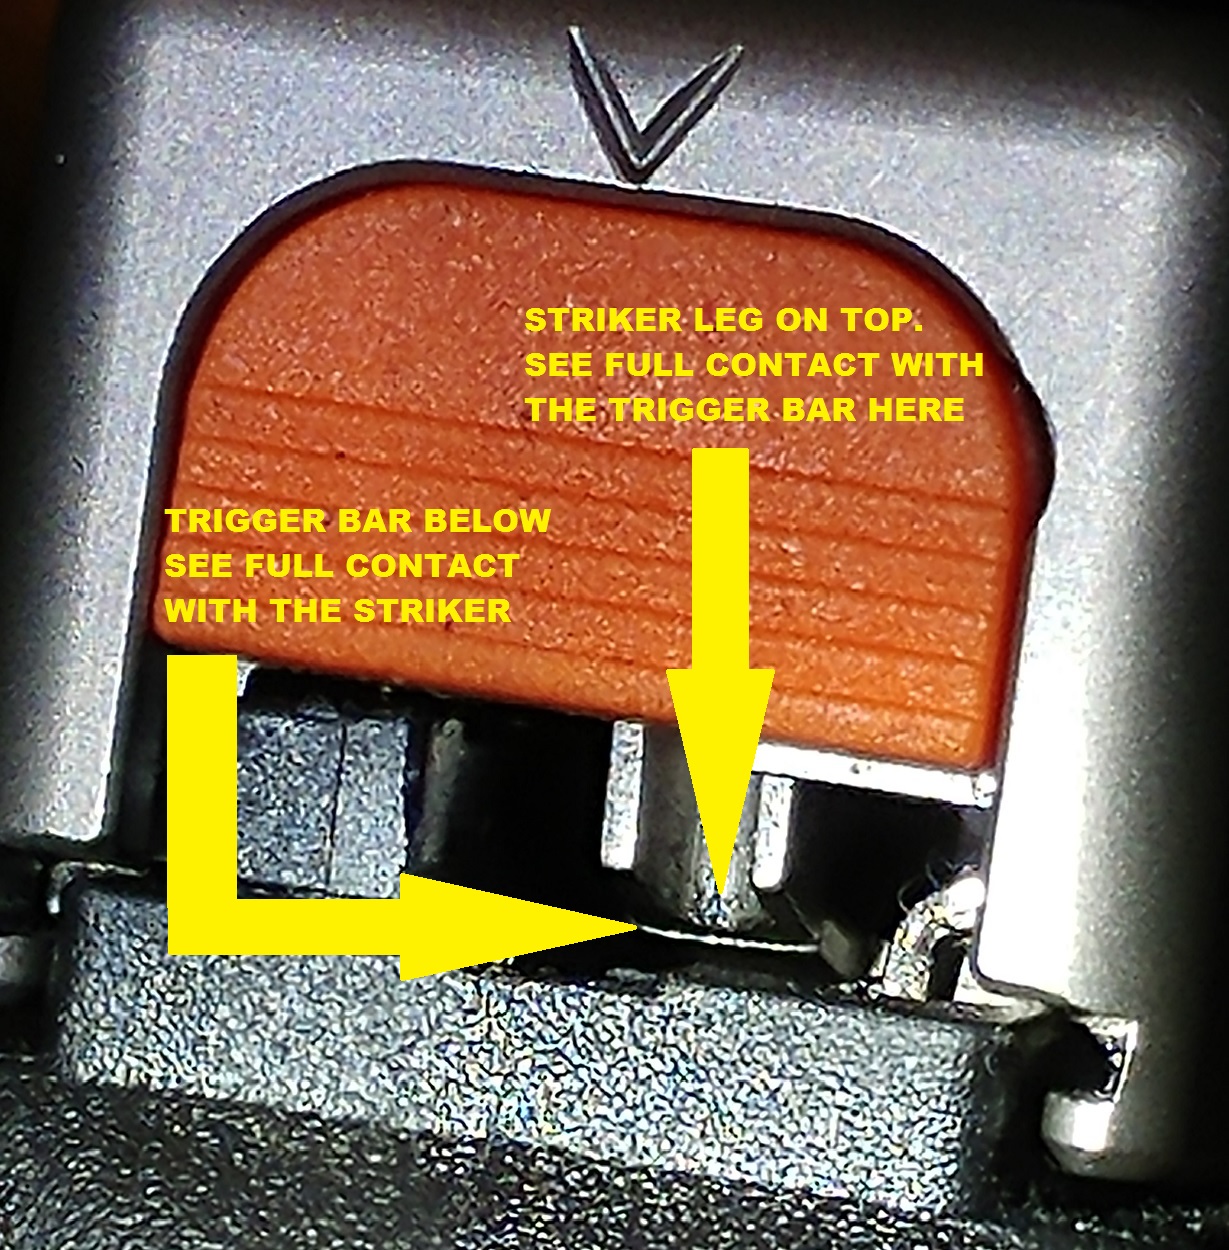
- Install a Glock armorer's back plate or look underneath the standard back plate and check for 2/3 to full firing pin to trigger bar engagement (sear engagement) when firearm is racked. As an additional reliability check, check sear engagement on reset while holding trigger depressed. Sear engagement on reset should be closer to 3/4 to full engagement to ensure long term reliability.
- Any worn parts, or worn appearing parts, should be replaced immediately.

RELEASE OF LIABILITY - In no event shall Suarez International be liable for any direct, indirect, punitive, incidental, special consequential damages, injury, or death whatsoever, arising out of the sale, resale, or connected with the use, misuse, or installation of its products and components. Any oral or other written statement by Suarez International employees or representatives DO NOT CONSTITUTE AN IMPLIED REPRESENTATION AND/OR LIABILITY OF ANY KIND, and shall not be relied upon by purchaser. The purchaser/user accepts all risk.

